


Moving To A New Home? Here's How To Bring Your Garden With You
You’ve spent months, if not years, maintaining the plants in your garden. Pulling any weeds that tried to infiltrate them, keeping them hydrated on hot summer days.
Bird’s Moving understands how much your plants mean to you, which is why moving and packing companies like us make sure they’re packed along with all your other personal belongings.
To prepare them for moving day, we’re sharing some steps you can take to ensure they’re ready for the big day.
If possible, choose the season you move
The worst time to move your garden is during the hot summer months. Not only is the dryness damaging to their roots, but the sun is especially hot at this time of year and any direct sunlight can cause them a great deal of damage.
If you have no choice but to move your plants during the summer months, don’t worry. With a bit of extra care, you can successfully relocate your family of plants regardless of the time of year.
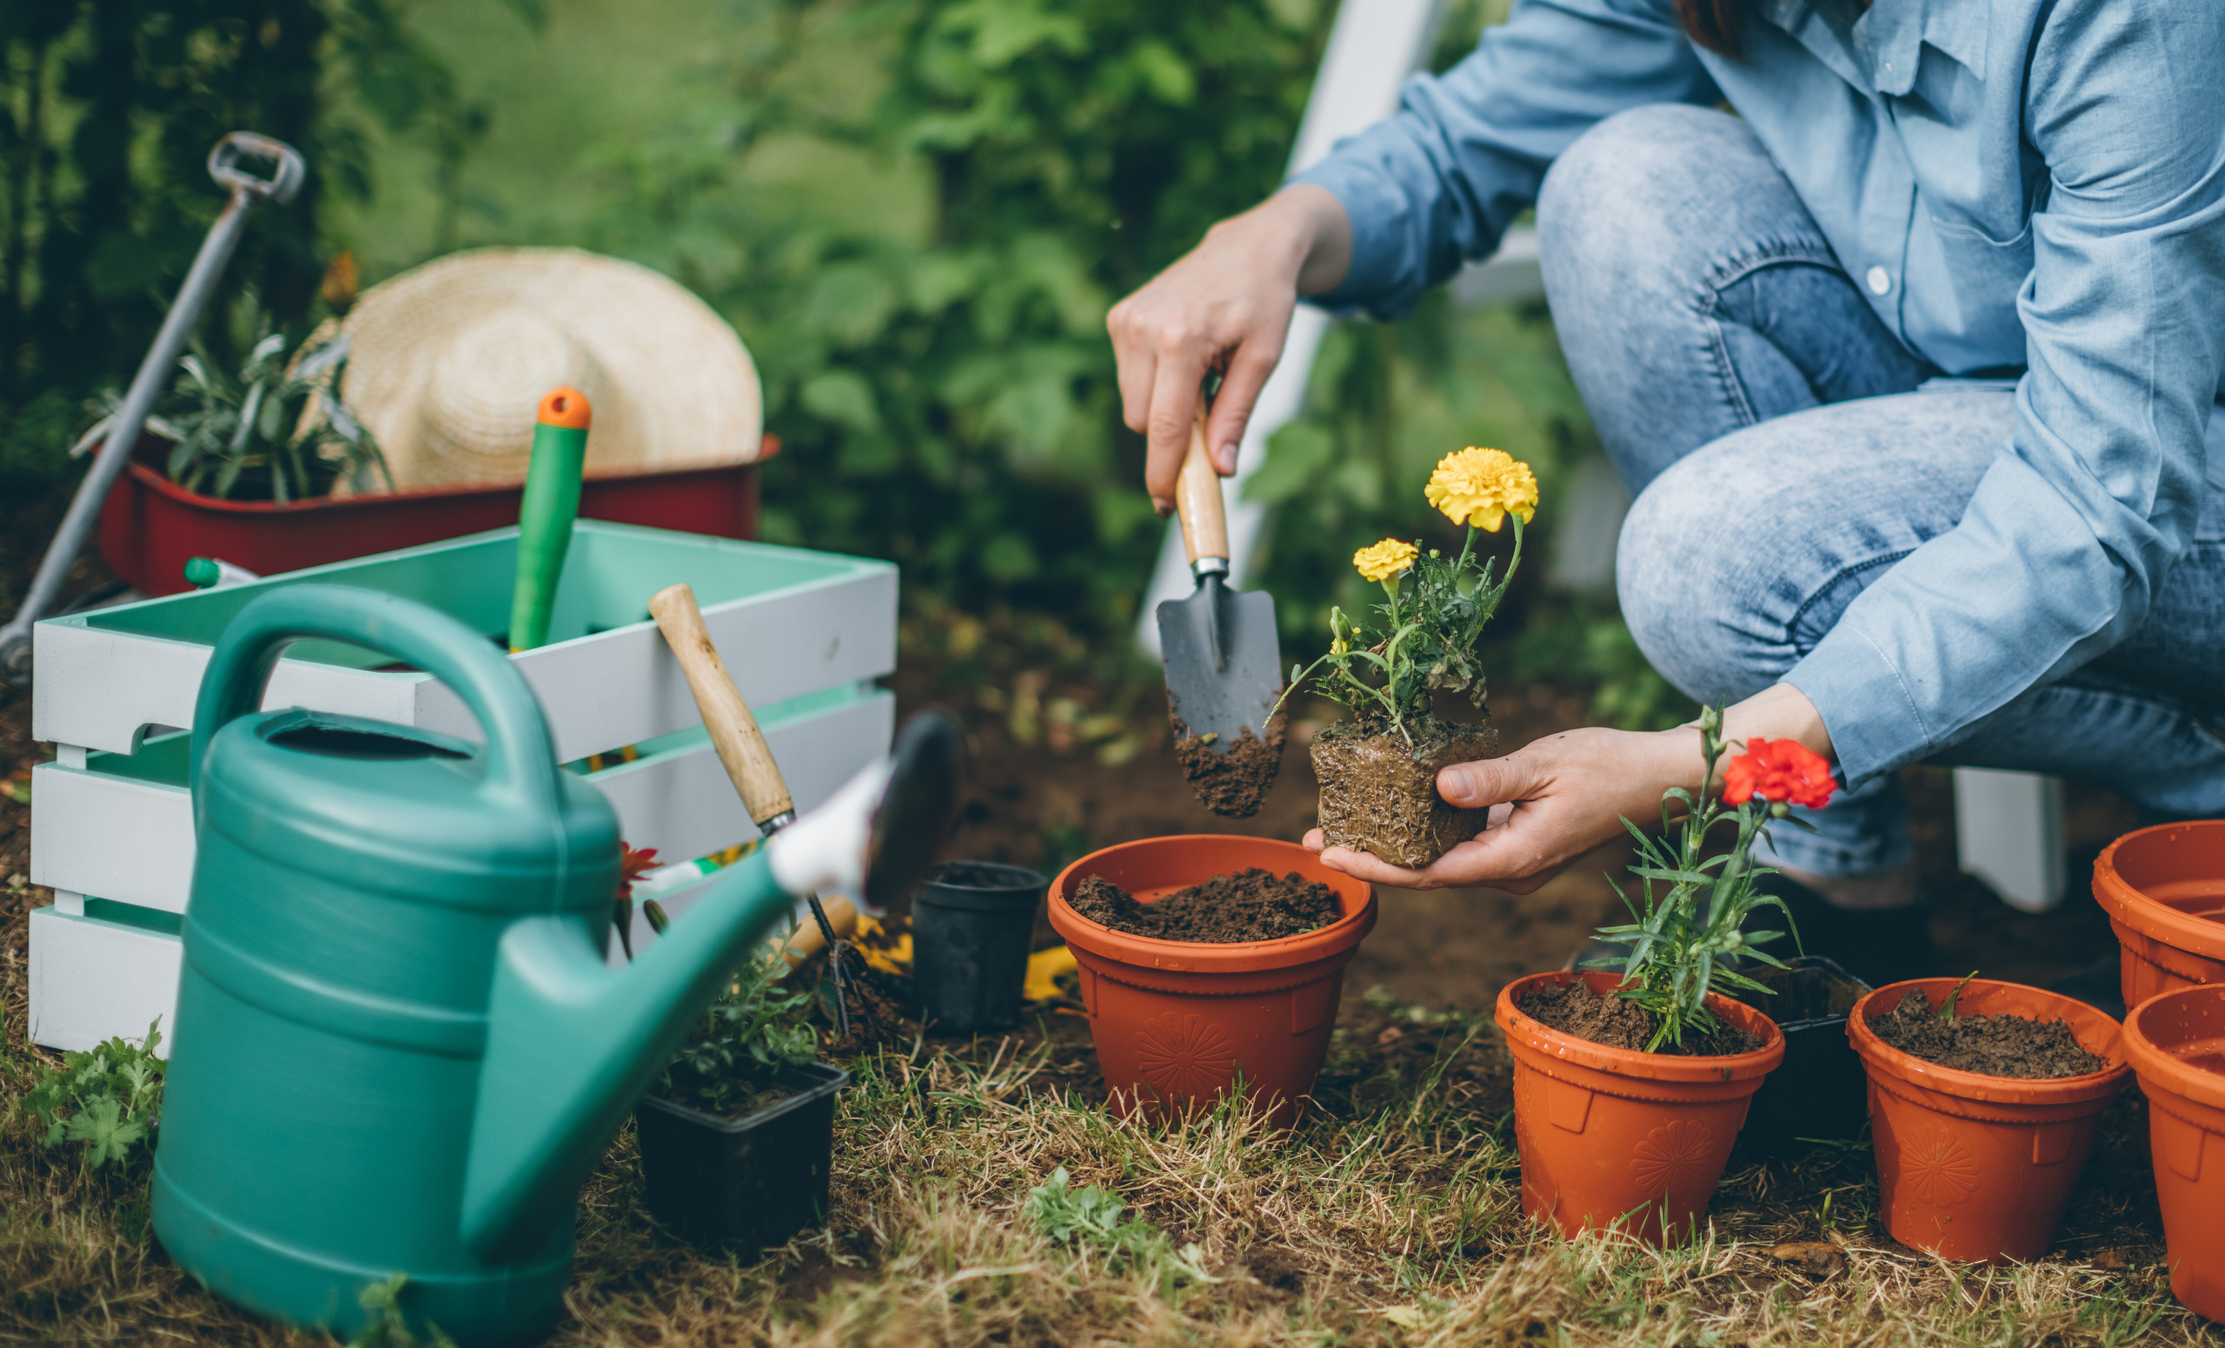
Plan(t) out where your plants will go
Before arriving at your new home, plan out where you’re thinking of transporting your garden. This will make the planting process a lot easier!
If you have yet to finalize where you’re going to re-plant your garden, you can dig a trench, and use this as a temporary nursery to accommodate your plants on arrival.
Get your plants ready for the road
One of the first things you can do to prepare your plants for moving day is cut off any stems or foliage that are dying or in excess. This will lessen the trauma your plant may experience.
Hydrate plants for transit
The night before you’re set to move, water your garden. The Spruce recommends you give them a good, deep soaking so the roots can take up as much water as possible.
If you have any plants with bare roots, the bottoms of these plants need to be submerged in water for two to three hours before being replanted.
Dig up using the drip line
Now you’re ready to dig up your plants!
Take a hand shovel and dig a ring around the plant’s main stem. This is the drip line, the area your plant drips onto the ground. For larger plants, the ring you dig needs to be at least 6 inches deep.
Once the ring is dug, grab a larger shovel to remove the plants. Make sure you don’t shake or remove any soil from the root ball as this protects your plant.
After removing the plant from its hole, you’ll need to ensure its roots are protected. A common way of doing this is wrapping the root ball in burlap. If you don’t have burlap, you can also place the plant into a bucket or large planter.
Re-plant in your new home
Once you arrive at your new home, you’ll want to plant your garden in its new location as soon as possible. They should be the last thing on the truck and the first thing you take off.
If you’re unable to plant them right away, you’ll want to place them into their temporary transitional home. Remember, the longer the plant is out of the ground, the harder it will be to put down roots.
Just before placing the plant in its new home, water the hole. You want the soil so saturated it turns into mud. Then place the plant into the hole and fill it about halfway with soil and water again. After the water settles the soil around the roots, grab some more soil to fill in the rest of the hole. Once the plant is in the ground, lightly firm the soil around the plant and give it one last water. Over the next few days, monitor your plants and water them accordingly.
Move Your Plants with Bird’s Moving!
As a St. Catharines moving company, serving the entire Niagara region, we’re dedicated to keeping our customers happy and their belongings safe, including plants! If you’re ready to put down roots at a new location, our team of qualified movers can help. Contact us today to make your move seamless!